The Projects app for Android allows you to manage projects stored in your ONLYOFFICE account on your mobile device. Using this app, you can view, create and edit projects, milestones, tasks, subtasks, manage your project team, assign responsible persons, access project documents, create discussions and leave comments.
Supported devices
The application runs under Android 6.0 or higher.
First launch
The Projects app is available on GooglePlay and Huawei AppGallery. After you've downloaded and installed the application on your mobile device, tap the
 icon to launch it.
Connecting to a portal
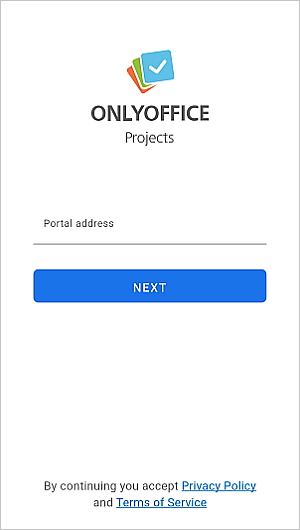
When you launch the Projects app for the first time, the ONLYOFFICE Projects panel opens. To sign in to your portal:
- enter your existing portal address (https://portalname.onlyoffice.com) and tap the NEXT button,

- enter your email address and password you use to access your account,
- tap the NEXT button,
- if the two-factor authentication is enabled on your portal,
- enter a verification code:
- if the two-factor authentication By SMS is enabled, enter a six-digit verification code received via SMS. When you access your online office account for the first time, you will be asked to specify the mobile phone number that an SMS message with the verification code will be sent to.
- if the two-factor authentication By authenticator app is enabled, enter a six-digit verification code or a backup code generated by the authenticator app.
- click the CONFIRM button.
To sign out from your account:
- tap the
 icon in the bottom right corner,
- go to your current account tapping your name, then tap Log out at the bottom of the screen and confirm this action.
Account management
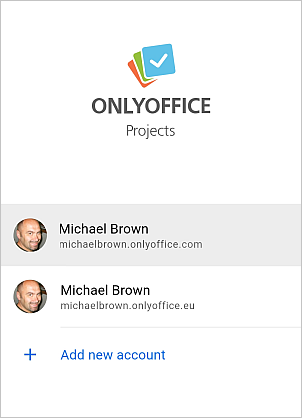
If you have several ONLYOFFICE accounts (e.g., accounts created on two different portals) you can connect them to the Projects app to quickly and easily switch between all your existing accounts and access necessary projects. If you have already signed in to an ONLYOFFICE account, perform the following actions to connect another account:
- tap the
 icon in the bottom right corner,
- go to your current account by tapping your name, then tap Log out and confirm this action,

- on the Accounts screen tap the Add new account link and connect another account as described in the Connecting to a portal section above.
To sign in to a certain account that you have previously connected, select the account at the Accounts screen. You will be logged in without the necessity to enter your login and password.
To disconnect a certain account, at the Accounts screen tap and hold the account, untill a Remove account window appears, and confirm your action. The selected account will be logged out and it will be removed from the list (you will be able to connect it again later, if necessary).
Application sections
Your Projects app contains the following sections:
-
 Dashboard is a section where you have an overview of projects and tasks;
-
 Tasks is a section that contains all tasks related to your projects;
-
 Projects is a section that contains all projects available to you;
-
 More is a section that contains Discussions and Documents, it also allows you to open your profile;
-
 Discussions is a section that contains discussions related to your projects;
-
 Documents is a section that contains files and folders corresponding to your projects.
Dashboard section
The Dashboard section allows you to overview your projects. Here you can:
- view your tasks, including the upcoming ones,
- view your projects including the ones you follow,
- open drop-down list of all active projects.
Tasks section
Your Tasks section contains the list of all your tasks. Here you can:
- see the task Overview and edit them,
- look through the Subtasks and manage them,
- look through the Documents, i.e. files and folders corresponding to the task,
- see the Comments for the task.
Projects section
Your Projects section contains the list of all your projects. Here you can:
- look through the Tasks to see more information and edit them,
- see the project Overview: change it's status and manage team members, creation date,
- look through the list of the project Milestones with their due dates and responsible users,
- see the project Discussions and take part in them,
- look through the Documents, i.e. files and folders corresponding to the project,
- get more information on the project Team.
By default, the sections are set to display the tasks and projects assigned to you. To learn how to change the filtering options, please refer to the following guide.
Application settings
You can access the Settings through the Profile section. To open a profile, tap your user account.
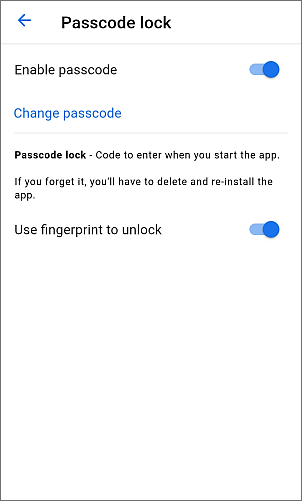
You can enable a passcode protection for your application. To do that:
- tap the
 icon in the bottom right corner,
- open a profile,
- tap the Settings
 icon in the right upper corner,
- tap the Passcode lock
 menu item,
- tap the Enable passcode option,
- specify your 4-digits passcode and confirm it.
When the passcode is turned on, you will be able to change it or turn it off using the corresponding options in the Passcode Lock section.
If you forget your passcode, you will have to delete and reinstall the application.
If your device supports biometric authentication and fingerprints have already been added to the device, you can also enable the Use fingerprint to unlock option to access the app using fingerprint. When enabling this option, it's also required to enter your passcode.

The Settings section also contains the following menu items:
- the
 Color theme section where you can choose an application's color theme from the available options:
- Same as system - to set the application theme depending on the one currently used on the device,
- Light theme - to use white and blue color palette,
- Dark theme - to use black, dark grey, and blue color palette;
- the
 Clear cache option allows to delete temporary files to increase app performance if necessary;
- the
 Help option that allows to open the Help Center in a web browser;
- the
 Support option that allows to contact the support team;
- the
 Rate the App option that allows to rate the application on Google Play;
- the
 Privacy Policy option that allows to open the Privacy Policy in a web browser;
- the
 Terms of Service option that allows to open the user agreement in a web browser;
- the
 Analytics option that allows to automatically send the app usage statistics to developers;
- the
 Version option that displays information about the application version.